Widgets
Introduction
Pre-built UI components that display Sahha data beautifully. Drop a WebView into your app, pass the profile token, and instantly show scores, factors, and biomarkers—no custom UI development required.
Ready to integrate?
Jump to the integration guide for your platform.
Key Features
Drop-in Ready
WebView components that work in minutes—no custom UI needed
Cross-Platform
Native support for iOS, Android, Flutter, React Native, and Web
Themeable
Light and dark modes with automatic system preference detection
Modular
Mix and match charts, arcs, bars, and factor lists
Responsive
Auto-sizing components that communicate height to your app
Customizable
Control dates, messages, and display options via URL params
How It Works
Simply use our webview component and call one of our UI Widget endpoints with the profile token provided by our SDK. Instantly, you'll receive a dynamic and interactive chart that suits your needs. Whether you want to display a Score Chart, Score Arc, or Factor List, our widgets make it easy to present valuable insights in a visually appealing way.
Available Widgets
Widgets come in two types - pages and components.
Light and dark theme
By default, UI widgets follow the user's system preferences to determine whether to display in light or dark mode. To override this behavior, add a theme query parameter to the widget URL.
Example: ?theme=light or ?theme=dark
Widget Pages
Widget pages are larger, comprehensive widgets that include a variety of widget components.
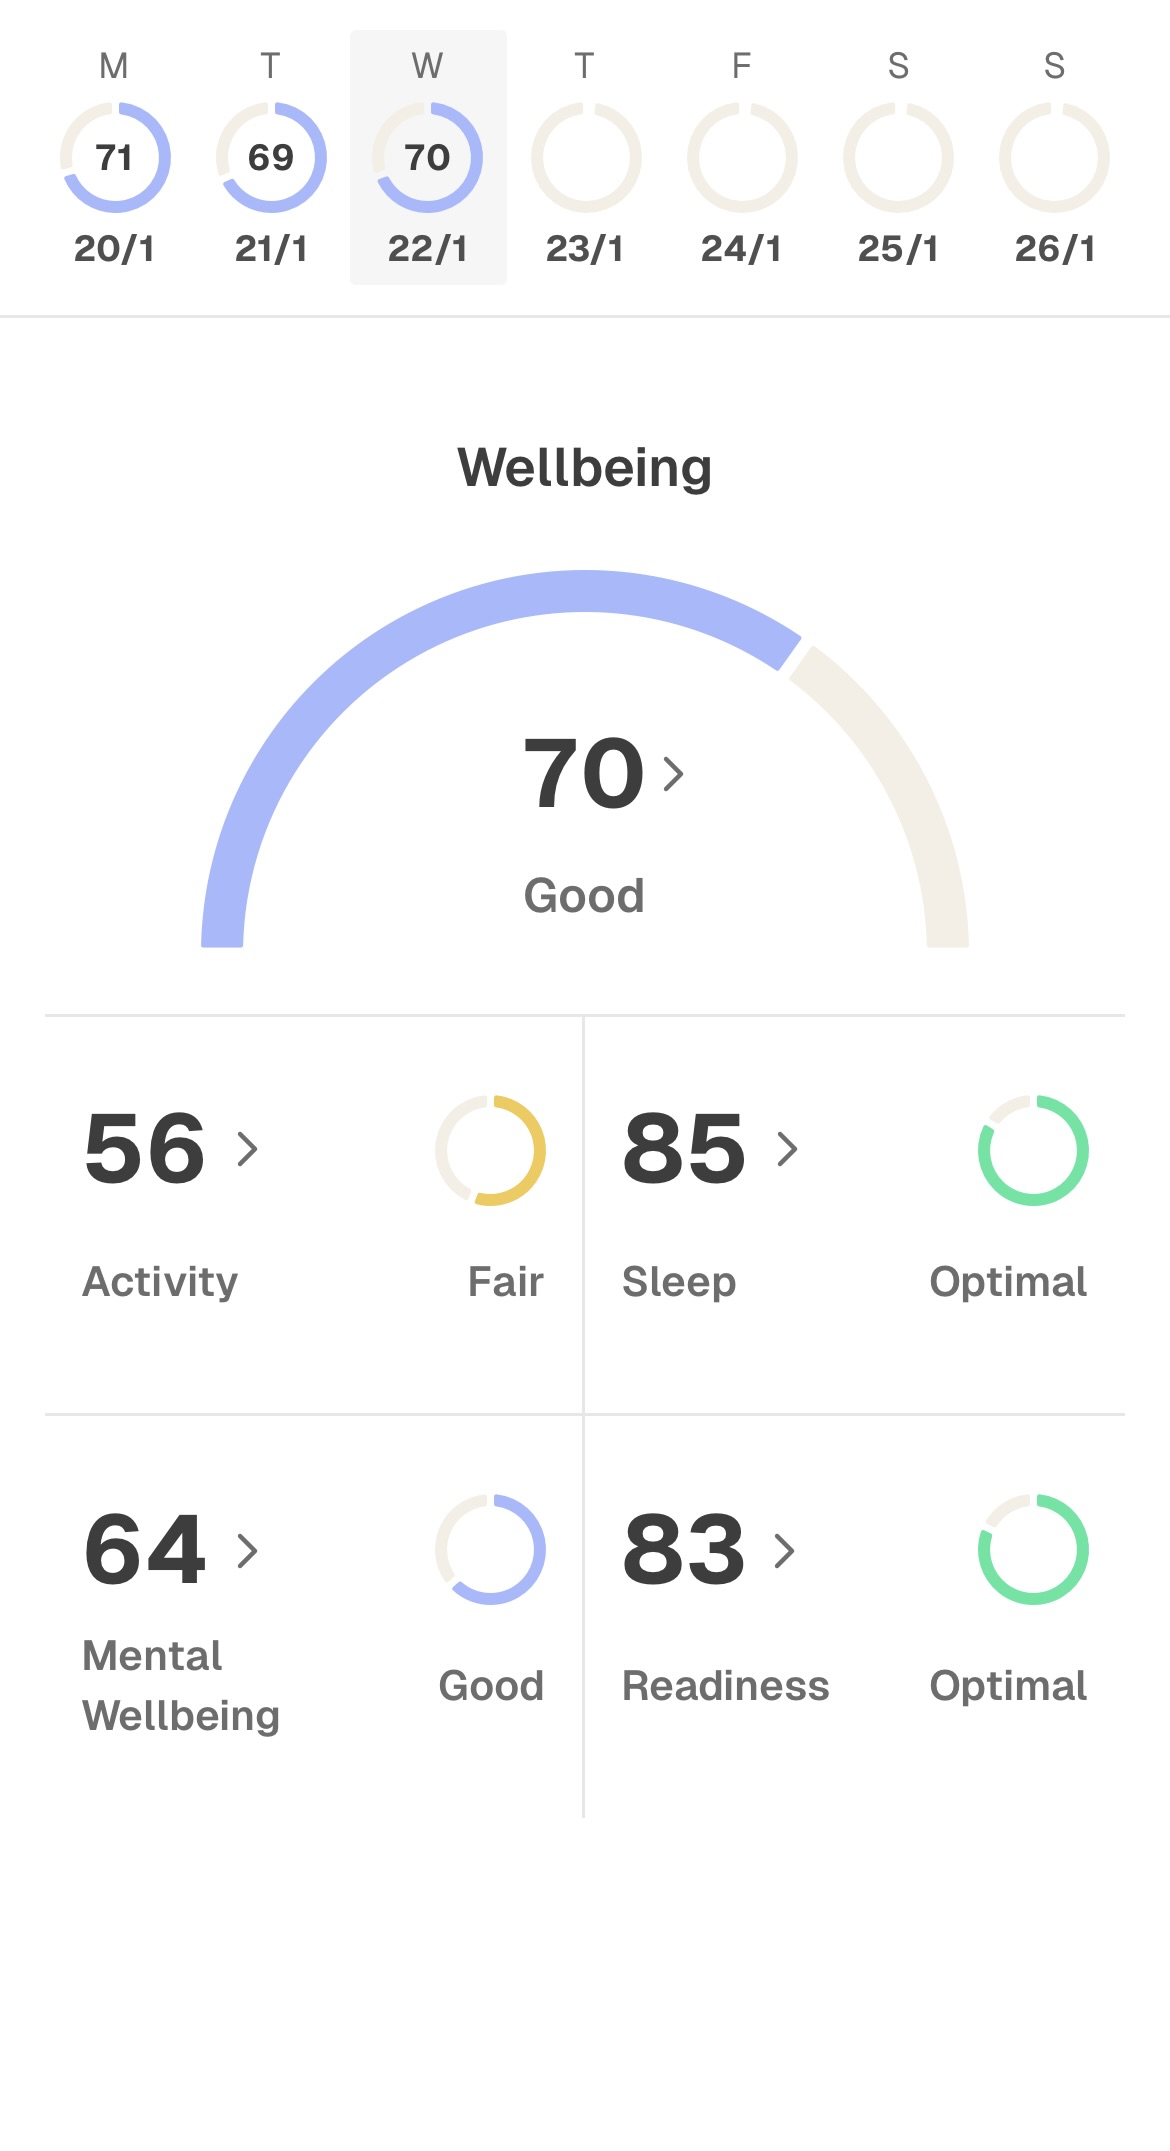
Scores Page
The Scores Page widget visually represents an overview of all scores for the current day along with a date selector for browsing historical scores.
URL
https://webview.sahha.ai/app
URL with date
https://webview.sahha.ai/app?date=2024-05-20
Remove date selector
https://webview.sahha.ai/app?hideDateSelect=true
Widget Components
Widget components are lightweight, modular elements designed to display specific data in a compact format.
You can choose from a variety of styles to help you present Sahha data clearly and effectively.See below for examples and available customization options for each widget style.
Score Chart
Displays a 7-day trend of a selected score in a compact line chart, helping you visualize changes over time at a glance.
URL
https://webview.sahha.ai/score/ {score_type}/chart
URL for specific date
https://webview.sahha.ai/score/ {score_type}/chart?date=2024-05-20
Score Arc
Showcases a single score using a radial progress bar, offering a simple, visual representation of progress or performance.
URL
https://webview.sahha.ai/score/ {score_type}/arc
URL for specific date
https://webview.sahha.ai/score/ {score_type}/arc?date=2024-05-20
Remove score message
https://webview.sahha.ai/score/ {score_type}/arc?message=false
Score Bar
Presents a single score with a horizontal progress bar, ideal for quickly communicating how a score measures up within a range.
URL
https://webview.sahha.ai/score/ {score_type}/bar
URL for specific date
https://webview.sahha.ai/score/ {score_type}/bar?date=2024-05-20
Remove score message
https://webview.sahha.ai/score/ {score_type}/arc?message=false
Factors List
Lists the contributing factors associated with a score, providing additional insight into what influences the overall result.
URL
https://webview.sahha.ai/score/ {score_type}/factors
URL for specific date
https://webview.sahha.ai/score/ {score_type}/factors?date=2024-05-20
Factor score with goal
https://webview.sahha.ai/score/ {score_type}/factors?goal=true
Factor score as percentage
https://webview.sahha.ai/score/ {score_type}/factors?percentage=true
Remove score message
https://webview.sahha.ai/score/ {score_type}/arc?message=false
Integration Guide
Follow this guide to easily add UI Widgets directly into your project. Choose your platform:
iOS
You can show a webview in your UIKit or SwiftUI project.
UIKit
Use a WKWebView
If your project uses UIKit views, you will need to create and display a WKWebView .
//  WebViewController.swift
import UIKitimport WebKitimport Sahha
class WebViewController: UIViewController, WKUIDelegate {
    var webView: WKWebView!
    override func loadView() {        let webConfiguration = WKWebViewConfiguration()        webView = WKWebView(frame: .zero, configuration: webConfiguration)        webView.uiDelegate = self        view = webView    }
    override func viewDidLoad() {        super.viewDidLoad()
        // Use https://webview.sahha.ai/app in production
        if let url = URL(string: "https://sandbox.webview.sahha.ai/app") {            var request = URLRequest(url: url)            if let authToken = Sahha.profileToken {                request.setValue(authToken, forHTTPHeaderField: "Authorization")            }            webView.load(request)        }
    }
}SwiftUI
Use a UIViewRepresentable and WKWebview
If your project uses SwiftUI views, you will need to create and display a UIViewRepresentable and WKWebview .
Step 1) Create the UIViewRepresentable
View the SwiftUI - UIViewRepresentable guide.
//  WebView.swift
import SwiftUIimport WebKit
struct WebView: UIViewRepresentable {
    let urlString: String    var profileToken: String?
    func makeUIView(context: Context) -> WKWebView {
        let webview = WKWebView()        webview.isMultipleTouchEnabled = false        return webview    }
    func updateUIView(_ webView: WKWebView, context: Context) {
        if let url = URL(string: urlString) {            var request = URLRequest(url: url)
            // Add authorization            if let authToken = profileToken {                request.setValue(authToken, forHTTPHeaderField: "Authorization")            }
            webView.load(request)        }    }
}Step 2) Display the UIViewRepresentable in a SwiftUI view
View the WebKit - WKWebview guide.
//  ContentView.swift
import SwiftUIimport Sahha
struct ContentView: View {
    var body: some View {
        // Use https://webview.sahha.ai/app in production
        WebView(urlString: "https://sandbox.webview.sahha.ai/app", profileToken: Sahha.profileToken)
}}Android
Use a WebView
You will need to create and display a WebView .
AndroidView(    factory = {        WebView(context).apply {            val cookieManager = CookieManager.getInstance()            cookieManager.setAcceptCookie(true)            cookieManager.setAcceptThirdPartyCookies(this, true)
            layoutParams = ViewGroup.LayoutParams(                ViewGroup.LayoutParams.MATCH_PARENT,                ViewGroup.LayoutParams.MATCH_PARENT            )
            webViewClient = WebViewClient()
            settings.apply {                javaScriptEnabled = true                domStorageEnabled = true                databaseEnabled = true                cacheMode = WebSettings.LOAD_DEFAULT            }
            // Use https://webview.sahha.ai/app in production
            val webViewUrl = "https://sandbox.webview.sahha.ai/app"            Sahha.profileToken?.also { token ->                loadUrl(webViewUrl, mapOf("Authorization" to token))            } ?: loadUrl(webViewUrl)
} },)Flutter
Use a WebView
You will need to create and display a WebView .
Step 1) Add webview_flutter as a dependency in your pubspec.yaml file
dependencies:  flutter:    sdk: flutter
webview_flutter: ^4.7.0Step 2) Instantiate a WebViewController
View the Flutter WebViewController guide.
Step 3) Pass the controller to a WebViewWidget
View the Flutter WebViewWidget guide.
import 'package:flutter/material.dart';import 'package:sahha_flutter/sahha_flutter.dart';
import 'package:webview_flutter/webview_flutter.dart';// Import for Android featuresimport 'package:webview_flutter_android/webview_flutter_android.dart';// Import for iOS featuresimport 'package:webview_flutter_wkwebview/webview_flutter_wkwebview.dart';
class WebView extends StatefulWidget { const WebView({Key? key}) : super(key: key);
WebState createState() => WebState();}
class WebState extends State<WebView> { late final WebViewController _controller;
void initState() { super.initState();
// #docregion platform_features late final PlatformWebViewControllerCreationParams params; if (WebViewPlatform.instance is WebKitWebViewPlatform) { params = WebKitWebViewControllerCreationParams( allowsInlineMediaPlayback: true, mediaTypesRequiringUserAction: const <PlaybackMediaTypes>{}, ); } else { params = const PlatformWebViewControllerCreationParams(); }
final WebViewController controller = WebViewController.fromPlatformCreationParams(params);
controller ..setJavaScriptMode(JavaScriptMode.unrestricted) ..setBackgroundColor(const Color(0x00000000)) ..setNavigationDelegate( NavigationDelegate( onProgress: (int progress) { debugPrint('WebView is loading (progress : $progress%)'); }, onPageStarted: (String url) { debugPrint('Page started loading: $url'); }, onPageFinished: (String url) { debugPrint('Page finished loading: $url'); }, onWebResourceError: (WebResourceError error) { debugPrint('''Page resource error: code: ${error.errorCode} description: ${error.description} errorType: ${error.errorType} isForMainFrame: ${error.isForMainFrame} '''); }, onNavigationRequest: (NavigationRequest request) { if (request.url.startsWith('https://www.youtube.com/')) { debugPrint('blocking navigation to ${request.url}'); return NavigationDecision.prevent; } debugPrint('allowing navigation to ${request.url}'); return NavigationDecision.navigate; }, onHttpError: (HttpResponseError error) { debugPrint('Error occurred on page: ${error.response?.statusCode}'); }, onUrlChange: (UrlChange change) { debugPrint('url change to ${change.url}'); }, onHttpAuthRequest: (HttpAuthRequest request) { debugPrint('auth request $request'); }, ), )
// #docregion platform_features if (controller.platform is AndroidWebViewController) { AndroidWebViewController.enableDebugging(true); (controller.platform as AndroidWebViewController) .setMediaPlaybackRequiresUserGesture(false); } // #enddocregion platform_features
_controller = controller;
SahhaFlutter.getProfileToken().then((value) { debugPrint(value); if (value != null) { controller.loadRequest(
// Use https://webview.sahha.ai/app in production
Uri.parse("https://sandbox.webview.sahha.ai/app"), headers: {"Authorization": value}, ); } else { controller.loadRequest(
// Use https://webview.sahha.ai/app in production
Uri.parse("https://sandbox.webview.sahha.ai/app"), ); } }).catchError((error, stackTrace) { debugPrint(error.toString()); }); }
Widget build(BuildContext context) { return Scaffold( appBar: AppBar(title: const Text('Webview Example')), body: WebViewWidget(controller: _controller), ); }
}React Native
Use a WebView
You will need to create and display a WebView .
Step 1) Install react-native-webview via npm
npm install react-native-webviewStep 2) Instantiate a WebViewController
import React, { Component } from 'react';import { WebView } from 'react-native-webview';import Sahha from 'sahha-react-native';
const MyWebComponent = () => {
    const [profileToken, setProfileToken] = useState<string>('');
    useEffect(() => {        Sahha.getProfileToken((error: string, token?: string) => {            if (error) {                console.error(`Error: ${error}`);            } else if (token) {                console.log(`Profile Token: ${token}`);                setProfileToken(token);            } else {                console.log(`Profile Token: null`);            }        });    }, []);
    // Ensure profile token has a value before rendering the webview
    if(!profileToken) return null;
    // Use https://webview.sahha.ai/app in production
return <WebView source={{ uri: "https://sandbox.webview.sahha.ai/app", headers: { 'Authorization': profileToken, }, }} style={{ flex: 1 }} />;}Web
Use an HTML iFrame
You will need to create and display an HTML iFrame .
Route prefix required
When embedding webviews inside of an iFrame, all route names must be prefixed with /web .
For example, to use the sleep chart widget, the URL should be: https://webview.sahha.ai/web/score/sleep/chart
<!doctype html><html lang="en">	<head>		<meta charset="UTF-8" />		<meta name="viewport" content="width=device-width, initial-scale=1.0" />		<title>Sahha UI Widget Example</title>		<script>			// You will need to authenticate your user profile via the Sahha SDK or API			// Once you receive a profile token, set it here			const profileToken = 'PROFILE_TOKEN'; // Replace 'PROFILE_TOKEN' with the real profile token
			// Origin for the webview			// Use 'https://webview.sahha.ai' for your production app			const origin = 'https://sandbox.webview.sahha.ai';
			// The source URL for the iFrame			// This should be the full URL of the Sahha widget you want to render inside the iFrame.			// The URL must use the same `origin` as defined above to ensure proper communication between the parent page and the iFrame.			const source = origin + '/web/app'; // Example widget path: "/web/app"
			// Event listener for message event			window.addEventListener('message', (event) => {				if (event.origin !== origin) return;
				if (event.data.loaded) {					event.source?.postMessage(profileToken, origin);				}			});
			// Create and inject the iFrame into your HTML page			document.addEventListener('DOMContentLoaded', () => {				const iframe = document.createElement('iframe');
				iframe.src = source;				iframe.title = 'Sahha Webview';				iframe.style.width = '100%';				iframe.style.height = '1000px';				iframe.style.border = 'none';
document.body.appendChild(iframe); }); </script> </head> <body></body></html>Retrieving Widget Height
Overview
The Sahha WebView automatically sends its current height to the native application whenever its size changes. This allows dynamic resizing of the container holding the WebView to match its content.
Communication happens via:
- Calling
NativeBridge.postMessage(if injected into the page) - Fallback to
window.parent.postMessageif running inside an iframe
Additionally, each WebView can accept a unique id query parameter, so your app knows which WebView the message originated from.
Requirements
To enable communication:
- Inject a NativeBridge into the WebView's JavaScript context.
- Handle
postMessagein your platform's native WebView API. - Pass an
idas a query parameter on the WebView's URL.
Example URL:
https://webview.sahha.ai/score/activity/arc?id=my-custom-webview-idInjecting NativeBridge
The WebView must have this small JavaScript snippet injected before page scripts run:
(function () { if (typeof window.NativeBridge === 'undefined') { window.NativeBridge = { postMessage: function (message) { // Forward message to your platform's onMessage or equivalent handler window.ReactNativeWebView?.postMessage?.(message); // Example for React Native using react-native-webview } }; }})();Important:
- You must adapt
window.ReactNativeWebView.postMessageto match your platform's WebView message handling method. - If you are using Flutter, Android, iOS, or others, replace the postMessage line appropriately.
Message Format
The Sahha WebView sends messages to the host application when its height changes. The structure is always:
{ "type": "webview:height", "height": 1234, // Content height in pixels "id": "your-webview-id" // From URL query param}But the message type depends on the transport:
| Context | Sent As | Parse Required? |
|---|---|---|
NativeBridge | Stringified JSON | ✅ Yes |
window.parent.postMessage (iframe) | Raw object | ❌ No parsing needed |
Why This Matters
Your platform must detect which environment it's in:
- If you inject a
NativeBridge, your handler receives a JSON string, and you must parse it . - If you're embedding Sahha in an iframe , the
messagewill arrive in amessageevent as a JavaScript object , and is ready to use.
Troubleshooting
| Problem | Cause | Solution |
|---|---|---|
| No messages received | NativeBridge not injected | Ensure injection code runs early |
Message received but no id | Missing id in WebView URL | Add ?id=your-id to WebView URL |
| Wrong platform code in injection | postMessage incorrectly mapped | Match NativeBridge.postMessage to platform |
| Messages received but can't access data | Message is a JSON string and not a JS object | Ensure you are parsing messages properly |
Custom UI
Want to build your own UI instead? Use Sahha's API to fetch scores and biomarkers, then render them however you like.
Tutorials:
FAQ
No. Widgets require an internet connection to fetch data from Sahha's servers.
Widgets support light and dark themes. Custom brand colors are on the roadmap.
Use sandbox.webview.sahha.ai for testing and webview.sahha.ai for production.
Support
For help with Widgets, reach out in the Slack community or contact support@sahha.ai .