Guides
Configure the SDK Settings
In this guide we will teach you how to prepare the Sahha SDK for correct use, configure the environment settings, and handle notifications.
The Sahha SDK must be configured immediately upon app launch.
import sdk.sahha.android.source.*
// Configure Sahha inside `onCreate` of your app's `MainActivity`.
class MainActivity : ComponentActivity() {
    override fun onCreate(savedInstanceState: Bundle?) {        super.onCreate(savedInstanceState)
        // You can specify optional custom notification settings        val notificationSettings = SahhaNotificationConfiguration(            icon = R.drapable.ic_test, // The icon id must match the filename you add to the project            title = "Custom Title",            shortDescription = "Custom description",        )
        val settings = SahhaSettings (            environment = SahhaEnvironment.sandbox,            notificationSettings = notificationSettings, // Optional - defaults to null        )
        Sahha.configure(application, settings) { error, success ->            if (error != null) {                println(error)            } else {                println(success.toString())            }        }    }}
Environment Settings
Sahha has two servers, one for development and one for production. We recommend using the development environment until you're ready to go live. The SahhaEnvironment determines if the SDK connects to the sandbox or production server of the API.
| SahhaEnvironment | Description |
|---|---|
| sandbox | For testing and debugging |
| production | For public release on the App Store / Google Play |
Setting the incorrect environment will send data to the wrong server!
- Always use
sandboxduring development of your app. - Only use
productionwhen releasing your app to public users (not for internal testing) .
enum class SahhaEnvironment { sandbox, production}Notification Settings
You can customize notifications for any platform that includes an Android app.
You can customize notifications for the following platforms:
- Android
- Flutter (Android only)
- React Native (Android only)
iOS apps not supported
Custom Notification Icon
You can add an optional custom notification icon to your Android app.
How to create app icons with Image Asset Studio
How to create app icons with Image Asset Studio
Step 1) Open your project in Android Studio.
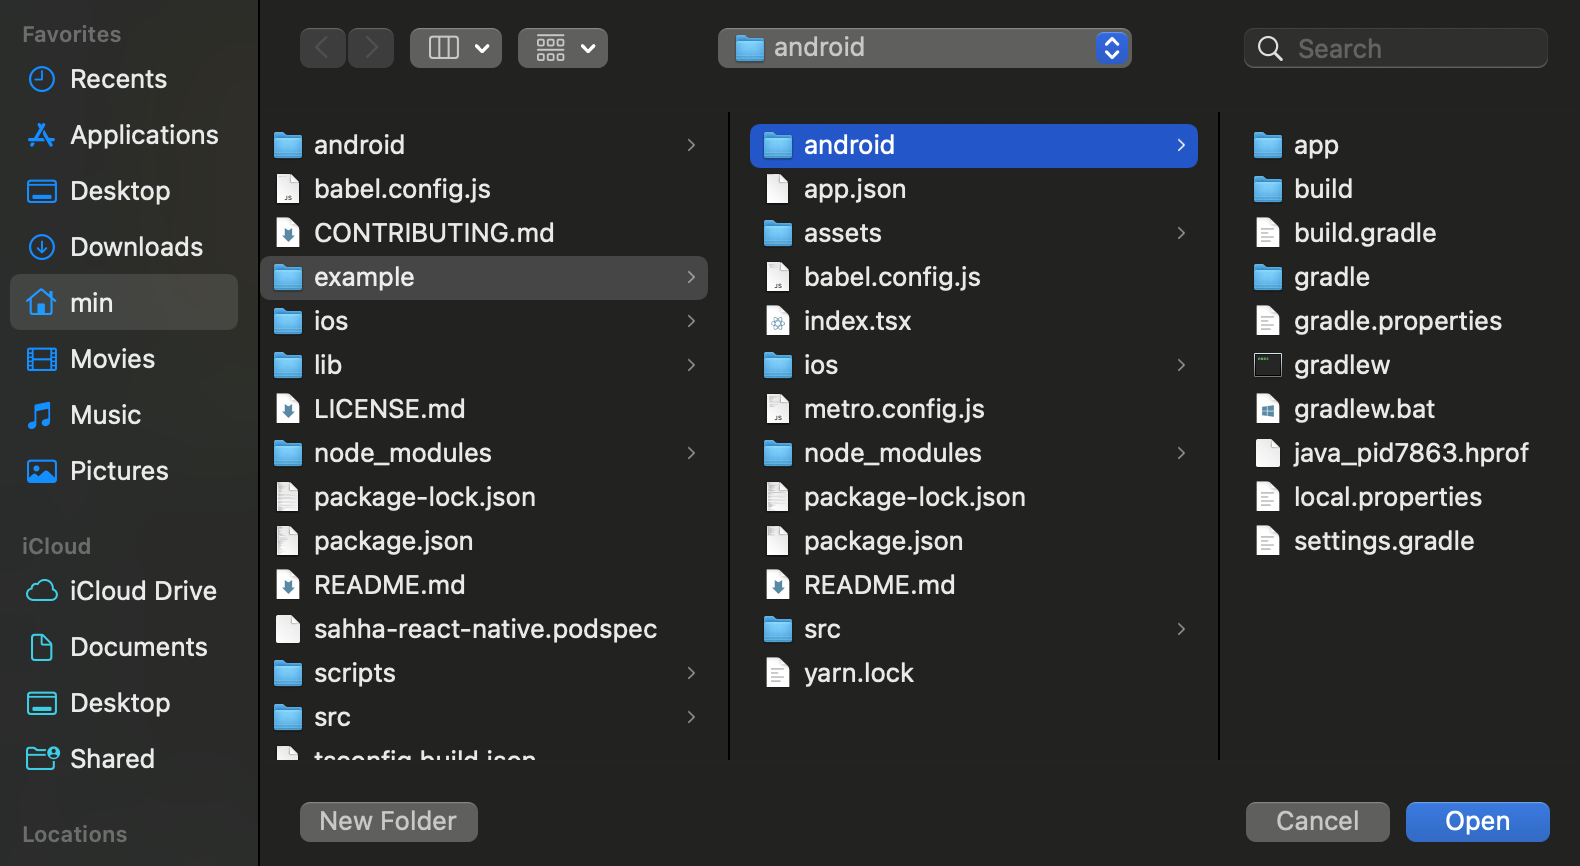
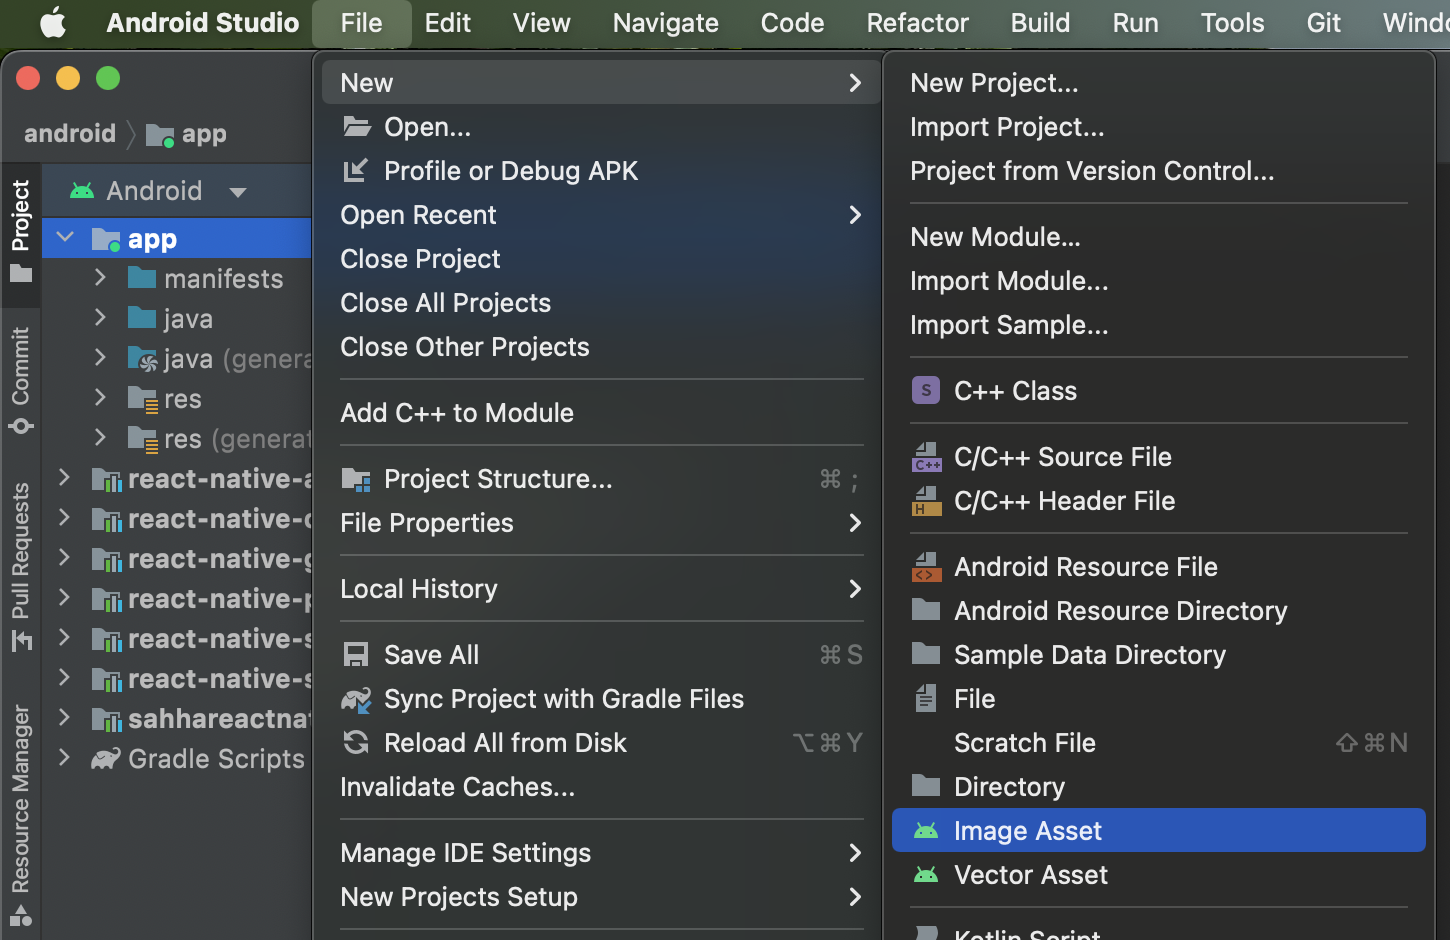
Step 2) With the app folder highlighted, select File → New → Image Asset.
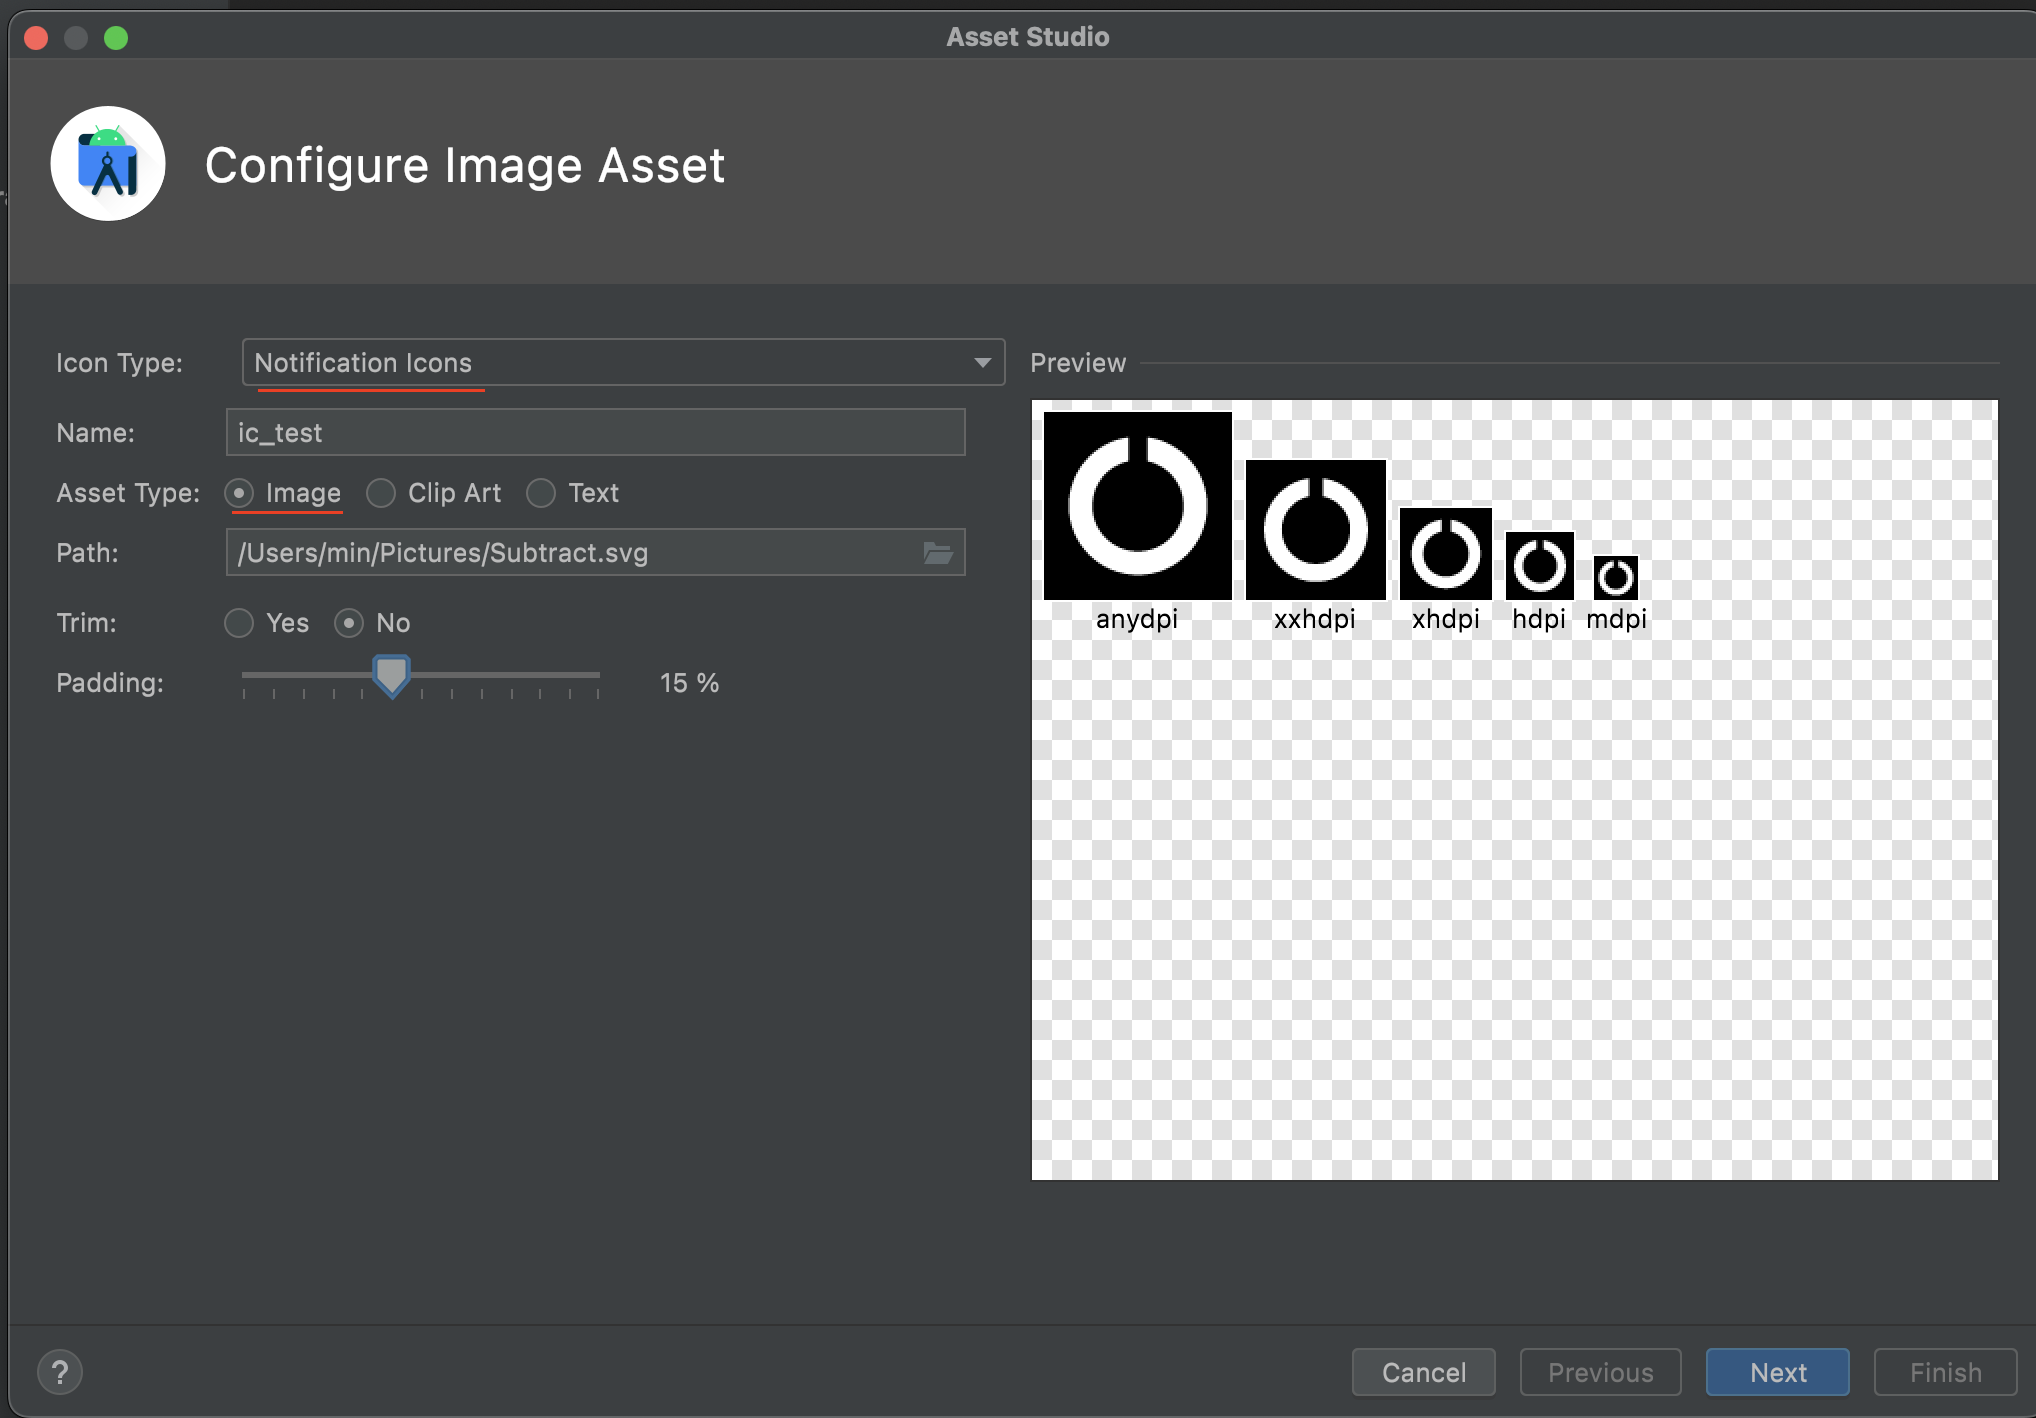
Step 3) Select Notification Icons for Icon Type, enter a Name, select Image as Asset Type and alter the Padding as desired.
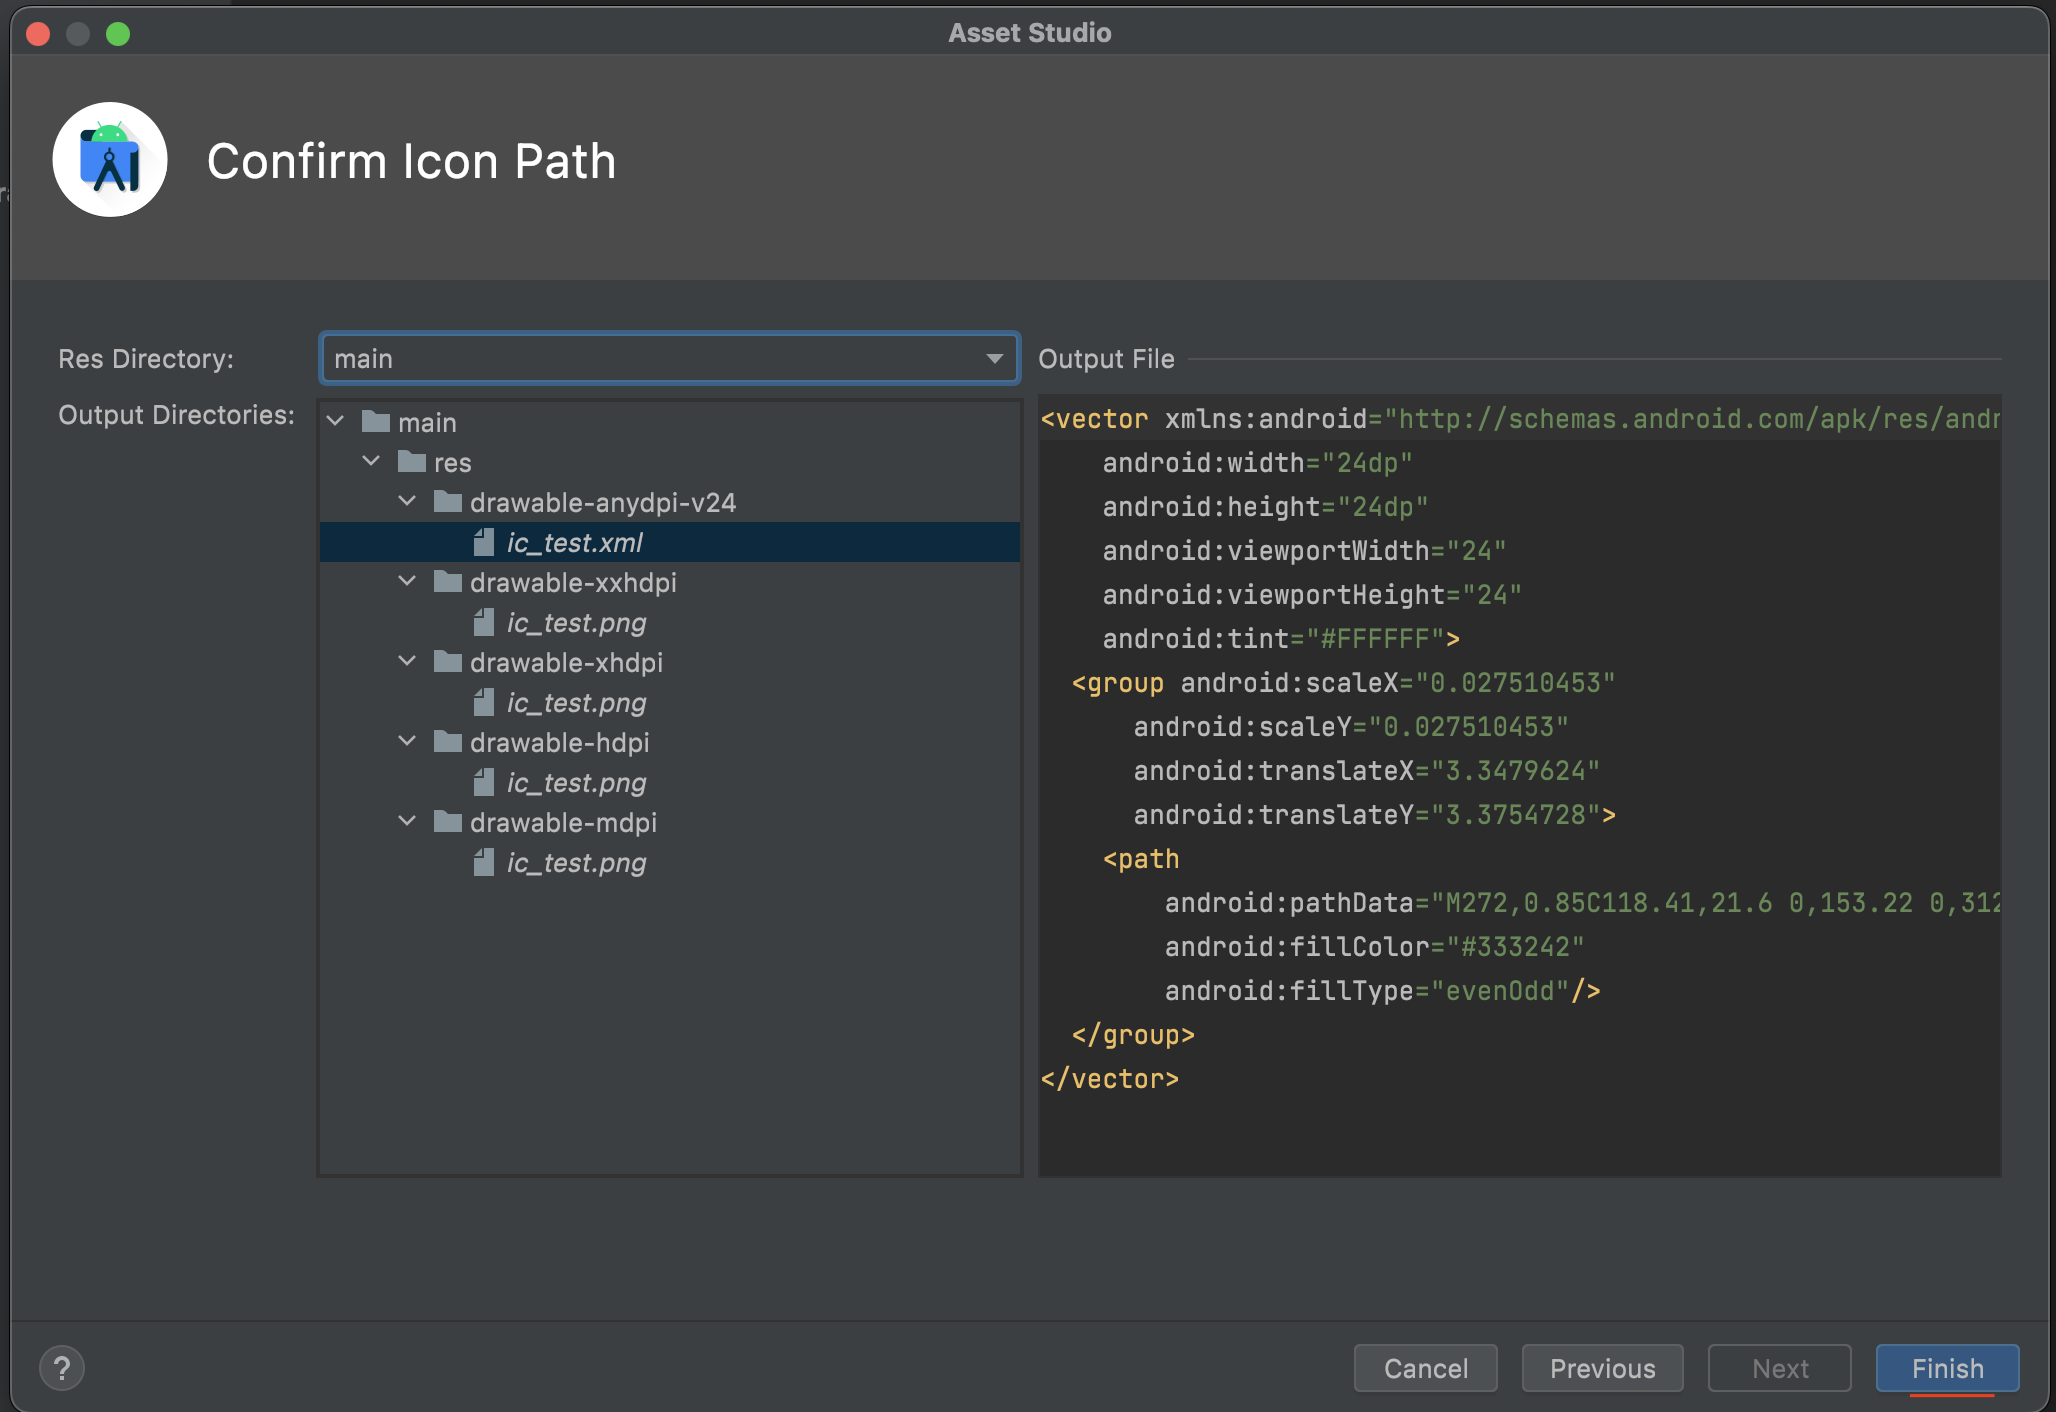
Step 4) This page can typically be left as it is. Select Finish.
Custom Notification Settings
You can specify optional custom notificationSettings. If notificationSettings are not specified, then the app will use the default notification settings.
val notificationSettings = SahhaNotificationConfiguration( icon = R.drawable.ic_test, // The icon id must match the filename you add to the project title = "Custom Title", shortDescription = "Custom description",)Default Notification Settings
If custom notificationSettings are not specified, then the app will use the default notification settings. If custom notificationSettings are only partially specified, then the app will use the default notification settings. The app will fill in the missing notification parameters with default values. E.g. if an icon and title are provided but a shortDescription is not, then the shortDescription will use the default value.
val icon = R.drawable.ic_sahha_no_bg // The Sahha logoval title = "Gathering health insights"val shortDescription = "Swipe for options to hide this notification."